Changing Fork Springs on a Yamaha R6 with 25mm Ohlins forks. And Don’t Forget to Service Your Fuel Injectors!
For anyone that is track riding regularly, or racing motorcycles, you will at some point need to change for springs to a softer or firmer rate. It is not that difficult to do if you have the drop in cartridge kit like a 25mm Ohlins system.
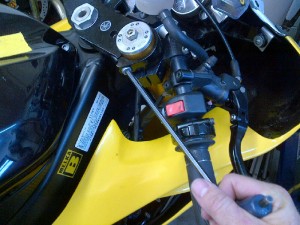
First, loosen the triple clamp fork bolt. Not doing so will make unscrewing the cap difficult and potentially damage the threads.
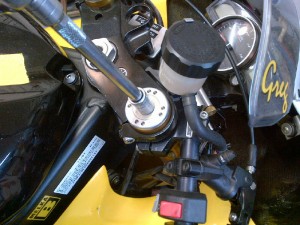
Next, loosen the fork cap with a 14mm socket, or better yet, the special Ohlins tool that fits in those 8 small holes around the outside. It is important to not over tighten the cap later as loosening it with the 14mm socket can damage the cap. In a later photo you will see the design of the cap and how that could happen.You can have the bike on a front stand or not on a stand, the other fork leg will support the bike but without a stand it will drop a bit. Do ONE fork let at a time or you will need help raising the bike up high enough to screw the cap back on to the fork tube.
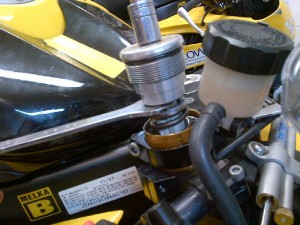
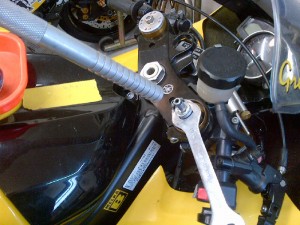
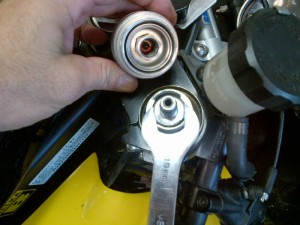
Now with a 19mm flat wrench, hold the inside cartridge so you can loosen the fork cap. You need to get the wrench around the spacer that sits on top of the spring. It rides on a fine ridge on the underside of the fork cap. The spacer is slotted so you can get at the hex head of the cartridge. It should easily break loose. Do not force things, and do not over tighten upon reassembly.
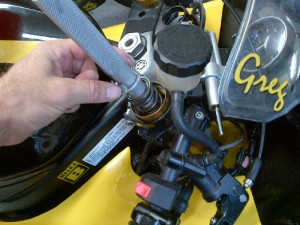
Do not pull the wrench out as you unscrew the fork cap. This threaded tool makes holding the cartridge easy, and speeds the process as the cartridge won’t sink down inside the fork leg. If you do not have one of these. You can still change the spring, you will need needle nose pliers to pull the cartridge up from the bottom. Be careful to not loose the round spacer with 2 legs when you pull the wrench out of place.
Thread the tool onto the cartridge and pull the spacer up and out of the way .. or without a tool, just pull the wrench out of place and allow the cartridge to drop down into the fork leg but don’t loose the spacer.
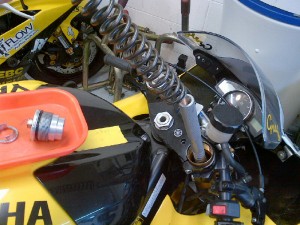
Pull the fork spring out. This picture looks the same for putting another fork spring in to the fork tube. The Ohlins springs will have the spring rate stamped onto one end of the spring or the other. Most common springs for track use will be .85 to 1.10 . They only come in .5 intervals, so if you are needing a .925 spring rate, you simply use a .95 on the right and a .90 on the left. “Might to the Right” makes future changes easier to keep track of what you use.
Slide the spacer on and pull on the tool that is threaded on to the cartridge (or go down inside with needle nose pliers). If you use pliers, it is likely the damping rod will come out a little from the middle of the cartridge. Gently push it back in. Sometimes you have to turn it slightly before it will go down flush with the top of the cartridge. Again, don’t force it.
As you can see looking at the bottom of the fork cap, there is a smooth ridge that the two “teeth” of the spacer ride in. It is very important as you thread the cap on, to ensure the “teeth” find this ridge. It is easy to see looking from below and up toward the bottom of the cap as you screw it on to see if it’s in place or not.
With the wrench still in place, use the 14mm socket (or toothed Ohlins cap tool) to gently tighten it down. You do not need to use much force. Just snug it on. With the front triple tree stand still in place from earlier, raise the front of the bike up. This will put the cap threads right on the fork let. Spin it on, again not very tightly, and torque your triple clamp allen head bolt and you are done with that leg!
Don’t forget to send your fuel inejctors out for ultrasonic cleaning at least once a year to keep your bike running smooth and at the optimal air to fuel ratio. Having a cylinder running lean could cause engine damage.


